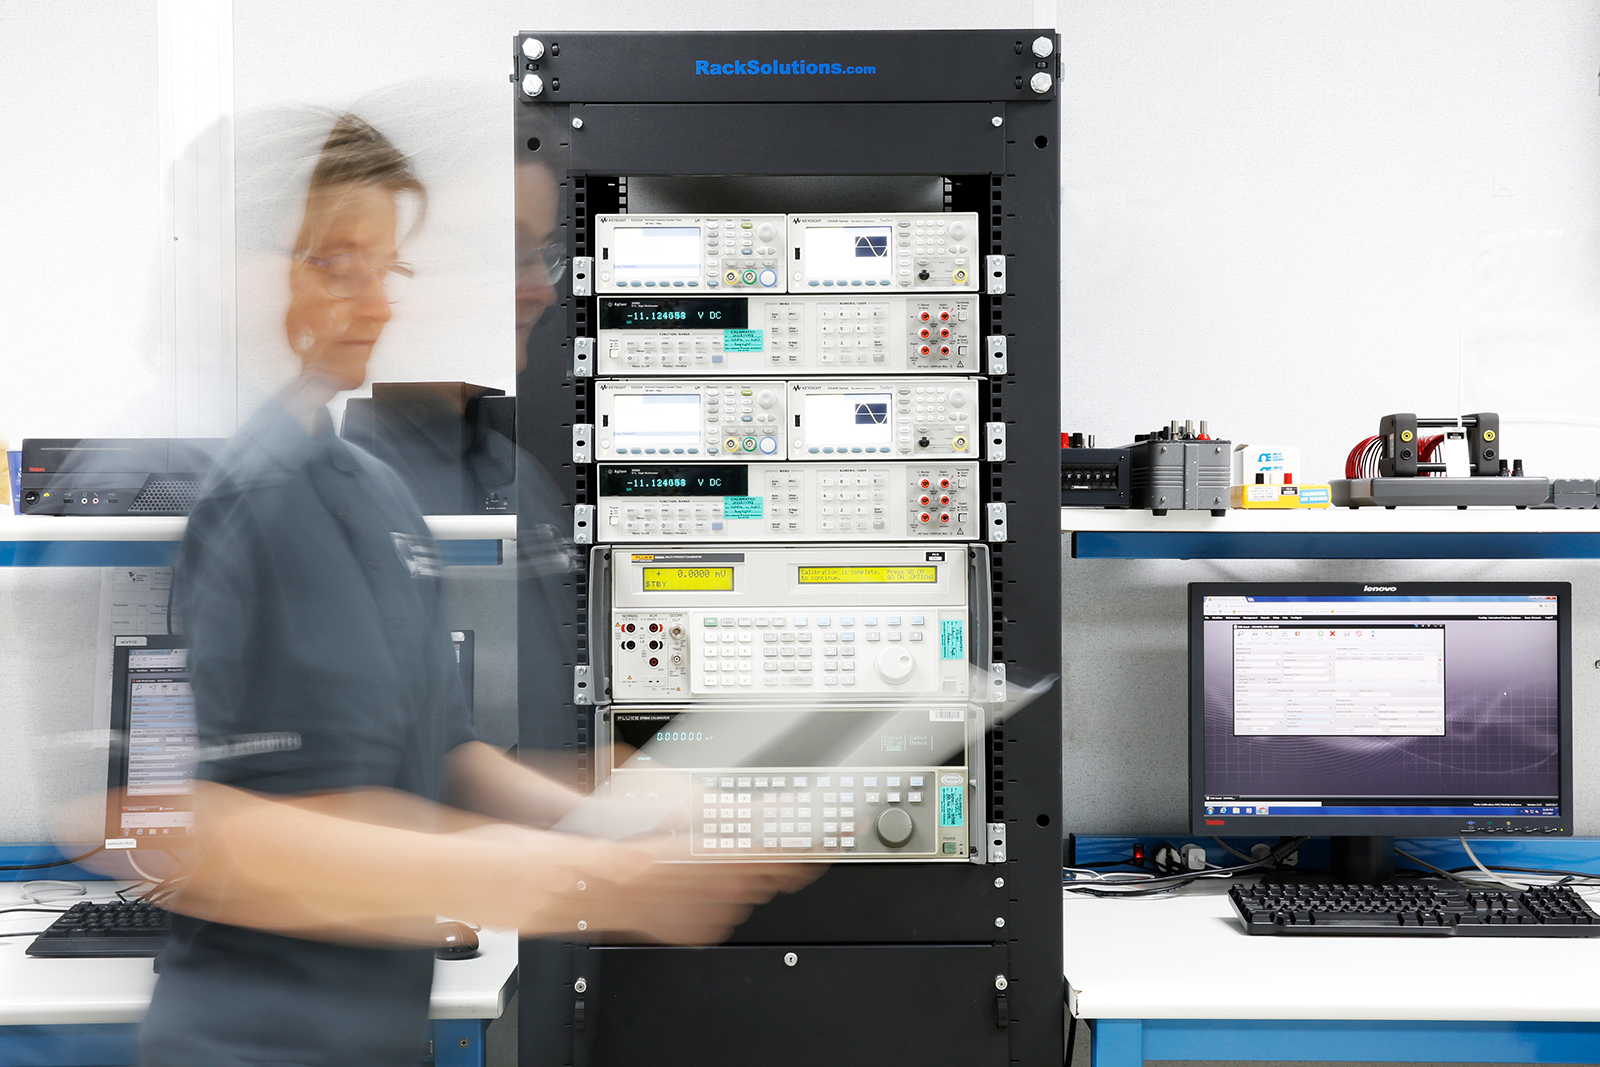
In modern industrial applications, accurate flow measurement is critical for ensuring process efficiency, safety, and compliance. Among the various flow measurement technologies, ultrasonic flow meters have gained widespread adoption due to their non-intrusive design, precision, and reliability. However, to guarantee consistent performance and trustworthy data, ultrasonic flow calibration is essential. In this comprehensive guide, we explore what ultrasonic flow calibration entails, how it is performed, why it matters, and the industry standards that govern it.
What Is Ultrasonic Flow Calibration?
Ultrasonic flow calibration is the process of verifying and adjusting an ultrasonic flow meter to ensure its readings align with a known and traceable reference standard. Unlike traditional meters that depend on mechanical components, ultrasonic flow meters measure flow by sending and receiving acoustic signals through the fluid. The difference in travel time between upstream and downstream signals correlates with the flow velocity.
Over time, environmental conditions, mechanical wear, and fluid composition can affect the meter’s accuracy. Calibration corrects these deviations, ensuring that readings remain within acceptable tolerances. The calibration process involves comparing the meter’s output to a certified reference system, then making necessary adjustments to bring measurements into alignment.
Why Ultrasonic Flow Calibration Is Essential
Precision is non-negotiable when it comes to flow measurement in industries such as oil and gas, water management, pharmaceuticals, and energy. A deviation of even 1% in flow measurement can result in substantial financial loss or process inefficiency. Proper calibration:
- Ensures compliance with regulatory standards and ISO requirements.
- Improves process control, optimizing energy and resource usage.
- Maintains measurement integrity, crucial for custody transfer and billing.
- Extends equipment life by detecting potential sensor issues early.
- Prevents costly errors, especially in high-stakes industrial applications.
Regular ultrasonic flow calibration not only safeguards data accuracy but also reinforces trust in measurement systems across the entire operational chain.
How Ultrasonic Flow Calibration Works
1. Establishing Reference Conditions
Calibration begins by defining the reference flow rate, which serves as the benchmark for comparison. A calibration rig or test bench—typically traceable to national or international standards—is used to generate a controlled flow. This setup allows precise measurement of flow conditions such as velocity, temperature, pressure, and fluid density.
2. Mounting and Setup
The ultrasonic flow meter under test is carefully mounted in line with the reference system. Factors such as pipe diameter, alignment, and upstream/downstream flow profiles are meticulously controlled to prevent turbulence or interference that could skew results.
3. Data Collection and Comparison
At various flow rates (low, medium, and high), both the reference meter and the test meter collect readings. These readings are compared to identify any discrepancies. The goal is to determine the deviation curve—a graphical representation of how the meter’s output varies across different flow rates.
4. Adjustment and Verification
If deviations exceed acceptable tolerances, the meter is adjusted. Depending on the device type, adjustments may be software-based (via configuration tools) or hardware-based (through sensor alignment). After adjustments, the calibration test is repeated until the meter’s performance matches the reference within the specified limits.
5. Certification and Documentation
Once calibration is complete, a calibration certificate is issued. This document includes essential information such as the meter’s serial number, calibration conditions, reference standards used, and results obtained. It serves as proof of compliance and traceability for audits and quality management.
Types of Ultrasonic Flow Meters and Their Calibration Needs
Transit-Time Ultrasonic Flow Meters
These are the most common type used in clean liquid applications. They measure the time difference between ultrasonic pulses traveling with and against the flow. Calibration must account for factors such as signal path length, sound velocity in the medium, and transducer alignment.
Doppler Ultrasonic Flow Meters
Used primarily for dirty or aerated fluids, Doppler meters measure frequency shifts caused by particles or bubbles within the flow. Calibration for these meters focuses on ensuring signal stability and correct frequency response across various flow rates.
Clamp-On Ultrasonic Flow Meters
Non-intrusive and portable, clamp-on meters are ideal for temporary installations. Since they are mounted externally, their calibration often depends on pipe wall thickness, acoustic coupling, and signal quality. Verification using portable reference devices or in-field calibration rigs is common practice.
Key Standards and Traceability
Calibration must adhere to internationally recognized standards to ensure traceability and reproducibility. The following are commonly applied:
- ISO 17025: Specifies general requirements for testing and calibration laboratories.
- ISO 5168: Provides guidance on the evaluation of flow measurement uncertainties.
- OIML R 117: Relates to flow measurement for liquids other than water, critical in custody transfer applications.
- API MPMS Chapter 5.8: Defines best practices for ultrasonic flow meters in petroleum measurement.
By aligning calibration procedures with these standards, organizations maintain consistency, transparency, and credibility in their flow measurement systems.
Frequency of Calibration
Determining how often to calibrate an ultrasonic flow meter depends on several factors:
- Application type: Custody transfer meters require more frequent calibration than process control meters.
- Operating environment: Harsh conditions or fluids with varying compositions can accelerate sensor drift.
- Manufacturer’s recommendations: Typically range from 6 months to 2 years.
- Historical performance: Meters with stable readings over multiple cycles may allow for extended intervals.
Routine verification checks between full calibrations can help detect drift early and maintain measurement confidence without frequent downtime.
Advanced Calibration Techniques
Master Meter Calibration
This method uses a highly accurate reference meter (the “master meter”) installed in series with the unit under test. It allows real-time comparison across varying flow conditions, making it suitable for in-field calibrations where laboratory calibration isn’t feasible.
Gravimetric and Volumetric Calibration
For high-accuracy laboratory settings, gravimetric (mass-based) or volumetric (tank-based) systems are employed. These methods provide primary standard reference data, offering the highest level of accuracy achievable.
Software-Based Simulation and Digital Compensation
Modern calibration techniques incorporate digital signal processing (DSP) and flow simulation algorithms to predict and correct measurement deviations dynamically. This digital calibration approach enhances precision, repeatability, and real-time diagnostics.
Challenges in Ultrasonic Flow Calibration
While ultrasonic calibration offers precision, certain challenges can affect results:
- Temperature and pressure fluctuations that alter sound velocity.
- Flow profile disturbances due to bends, valves, or fittings near the meter.
- Signal noise or weak acoustic coupling in clamp-on setups.
- Air bubbles or suspended solids causing signal scattering in Doppler systems.
Mitigating these factors requires meticulous setup, controlled testing environments, and expert technicians with deep knowledge of fluid dynamics and acoustic physics.
Best Practices for Maintaining Calibration Accuracy
- Maintain clean transducer surfaces and verify coupling integrity.
- Record baseline data after each calibration for trend analysis.
- Use certified calibration facilities with ISO 17025 accreditation.
- Implement routine verification programs to catch early deviations.
- Ensure environmental consistency during calibration to eliminate thermal or mechanical interference.
Following these best practices ensures long-term reliability and reduces operational downtime.
Conclusion
Ultrasonic flow calibration is more than a technical procedure—it is a commitment to accuracy, reliability, and compliance. Whether used in energy production, water distribution, or industrial manufacturing, properly calibrated ultrasonic flow meters form the backbone of precise measurement and process optimization. By adhering to international standards, advanced calibration methods, and routine maintenance, organizations can ensure their flow measurement systems deliver trusted, traceable, and high-quality data—the foundation of operational excellence.
In essence, understanding and implementing a robust ultrasonic flow calibration program not only enhances measurement integrity but also drives efficiency, safety, and profitability across industrial operations.


